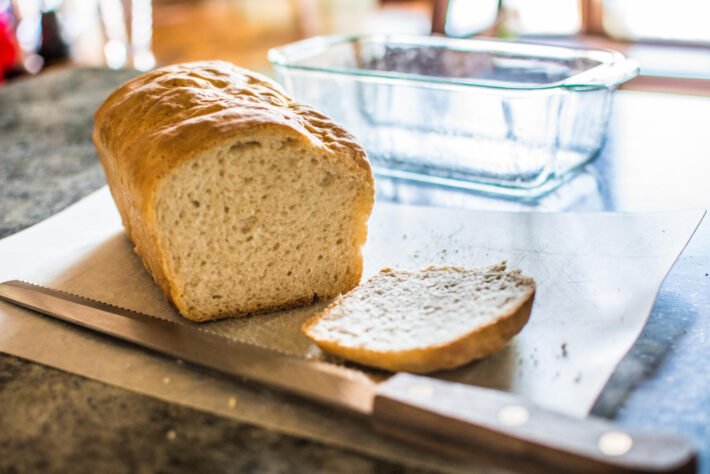
Bread Starter Recipe

Why I Love This Recipe
Starting your own bread starter from scratch is one of the most rewarding things you can do in the kitchen. I’ve been making my bread starter recipe for years, and it’s become my go-to for any kind of homemade bread, from soft loaves to crusty baguettes. This recipe is simple, reliable, and you’ll be amazed at how it transforms your baking. Plus, it’s a perfect way to use up that extra sour dough bread starter recipe or even an Amish bread starter recipe if you have one!

Servings
This bread starter makes enough for one batch of bread (approximately 1 loaf or 8 servings).
Prep Time
5 min (daily)
Cook Time
Ferment: 5-7 days
Serves
4–6 people
Equipment
- Mixing bowl
- Wooden spoon or spatula
- Measuring cups and spoons
- Clean towel or plastic wrap
- Glass or plastic container with a lid
Ingredients
- 1 cup warm water
- 1 cup all-purpose flour
- 1 tablespoon sugar (optional)
- 1 packet active dry yeast (or 2 1/4 tsp)
Step-by-Step Method
Step 1: Activate the yeast
In a bowl, combine the warm water and sugar (if using). Sprinkle the yeast over the water and let it sit for 5 minutes, or until it becomes bubbly and frothy.
Step 2: Mix the starter
Add the flour to the yeast mixture and stir until combined. You should have a thick, but smooth mixture. If it’s too dry, add a little more warm water, 1 tablespoon at a time.
Step 3: Let it rise
Cover the bowl with a clean towel or plastic wrap. Let it sit in a warm, draft-free spot for 12-24 hours. You'll notice it will begin to bubble and grow. It’s ready when it's visibly risen and smells lightly tangy.
Step 4: Feed the starter
Every 12-24 hours, stir the starter, and add 1/2 cup of water and 1/2 cup of flour. Continue to do this until you’re ready to bake with it.
Step 5: Use it in recipes:
Once your starter is bubbly and active, you can use it in your bread recipes! You’ll need about 1 cup of starter for most bread recipes. Store any leftover starter in the fridge and continue to feed it once a week if not using immediately.
Tips & Variations
- For a stronger flavor: If you like a tangy flavor, let your starter ferment for 2-3 days, feeding it regularly to build up the natural yeast.
- Switching flours: You can use whole wheat or rye flour instead of all-purpose flour for a slightly different texture and flavor.
- For a quick start: If you’re short on time, you can also use a small amount of sourdough starter in place of yeast to kickstart the process!
Nutrition (per 1 tablespoon of starter)
- Calories: 20
- Carbs: 5g
- Protein: 1g
- Fat: 0g
Diet & Allergen Info
- Contains gluten
- Can be made dairy-free if needed
- Nut-free
Storage Suggestions
Once your bread starter is ready, store it in a clean glass or plastic container with a lid. If you’re not using it right away, keep it in the fridge. Remember to feed it once a week to keep it alive and active. You can also freeze your starter for long-term storage!
FAQ
How do I know if my bread starter is ready?
When your starter is bubbly, slightly tangy-smelling, and has risen in volume, it’s ready to use!
Can I use sourdough discard for this recipe?
Absolutely! If you have extra sourdough discard, you can use it as your starter. Just remember to feed it for a few days to get it active again.
Sour Dough Bread Starter Recipe
If you want to take this up a notch, try the sour dough bread starter recipe. Simply swap some of the all-purpose flour with rye flour, and let the starter ferment for a bit longer for that classic sourdough tang!
Amish Bread Starter Recipe
For an even richer flavor, consider using an Amish bread starter recipe. This starter is slightly sweeter and perfect for baking soft, sweet bread loaves that are perfect for breakfast or as a side dish.
Patricia J. Harris is a passionate recipe creator with a love for crafting delicious, easy-to-follow dishes. Her expertise in diverse cuisines brings bold, accessible flavors to home cooks. She loves experimenting with ingredients, blending tradition with creativity to make cooking easy and fun.