Easy Garlic Bread Spread Recipe
Hey there, flavor fanatics!
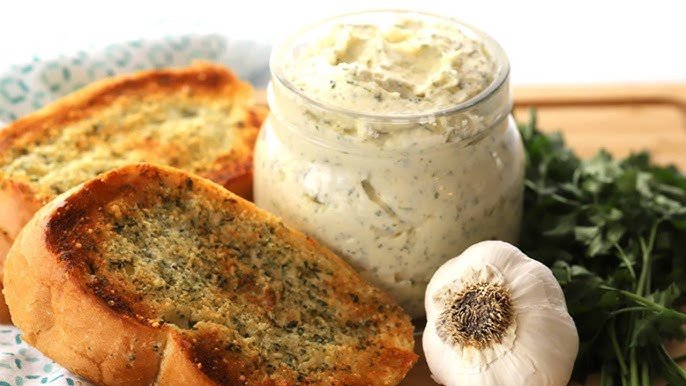
I’m Patricia, and I can’t get enough of this creamy, zesty garlic spread—it’s become my snack obsession. I whip it up every weekend for family movie night, and it’s a total crowd-pleaser. You’ll love how quick it comes together and how it transforms plain bread into a “flavor explosion” sensation. Trust me, you’ll be on your sixth batch before you know it!
Why I Love This Recipe
Seriously, this garlic spread for bread is a double whammy: buttery richness meets fresh herbs. It’s so versatile—slather it on warm baguette slices, swirl into pasta, or use as a dipping sauce for roasted veggies. Every time I make it, I’m amazed at how a few simple ingredients can pack such a punch. Plus, it reheats like a dream—just pop it under the broiler for that crispy edge!
Servings
Prep Time
10 minutes
Cook Time
15 mins
Serves
6–8 people
Total Time
25 mins
Equipment
- Mixing bowl: A medium bowl makes stirring effortless.
- Fork or small spatula: Perfect for whipping butter and folding in ingredients.
- Storage jar with lid: Keeps your spread fresh and makes it easy to grab.
Ingredients
- ½ cup unsalted butter, softened: Room-temp butter blends easily, yielding a silky base.
- 3 cloves garlic, minced: Fresh garlic gives the best zing—feel free to add an extra clove if you’re a true garlic lover.
- 2 tbsp fresh parsley, finely chopped: Adds bright color and a mild, herbaceous note.
- 1 tsp lemon zest: Brings a subtle citrus lift that balances the richness.
- ¼ tsp sea salt: Enhances all the flavors; start small and adjust to taste.
- Pinch of freshly ground black pepper: A little bite to finish.
Step-by-Step Method
Step 1: Whip the butter
In your bowl, mash the softened butter with a fork until it’s light and fluffy—this traps air and creates a smoother spread.
Step 2: Add the aromatics
Stir in the minced garlic and parsley. You’ll see flecks of green and smell that irresistible garlic aroma immediately!
Step 3: Brighten with zest
Sprinkle in the lemon zest, salt, and pepper. Keep mixing until everything is evenly distributed—the texture should be creamy but still hold its shape.
Step 4: Chill to meld
Transfer to your jar, cover, and chill for at least 30 minutes. This step lets flavors marry and firm up the spread for easy scooping.
Step 5: Serve and enjoy
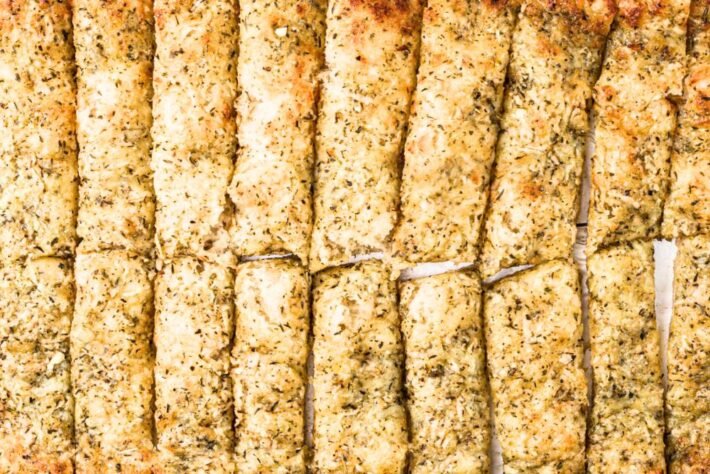
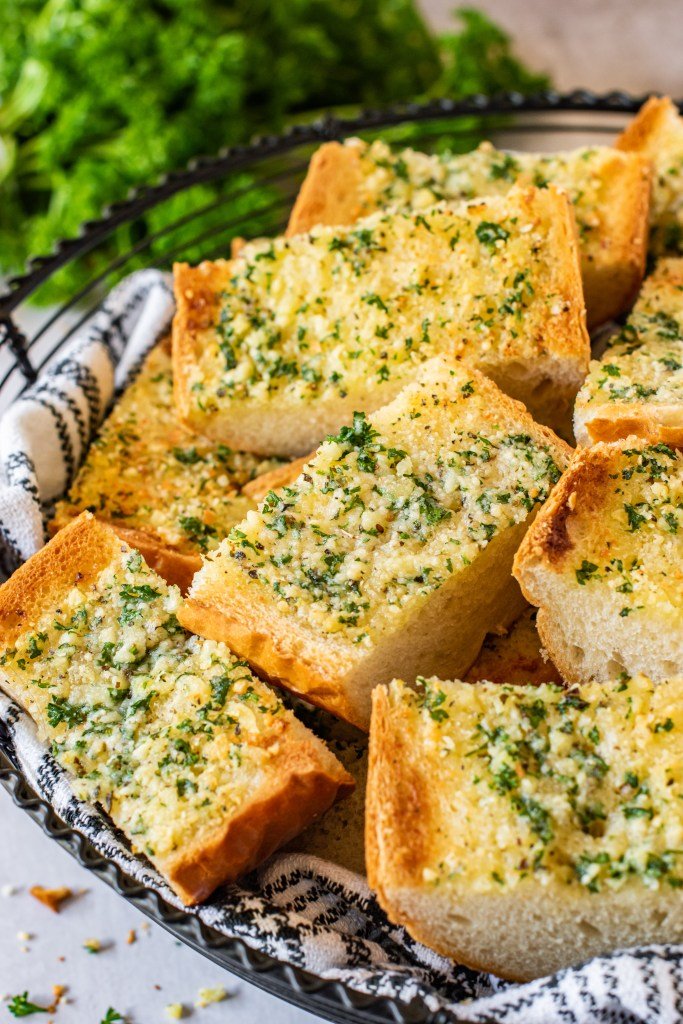
Scoop onto warm, crusty bread or use as a dip alongside fresh veggies. Watch it disappear in seconds!
Tips & Variations
- Spicy Kick: Mix in a pinch of red pepper flakes or a dash of hot sauce for heat that wakes up your taste buds.
- Cheesy Twist: Fold in 2 tbsp grated Parmesan or Pecorino for a nutty, savory edge.
- Herb Swap: Try basil, cilantro, or chives in place of parsley for a new flavor profile each time.
- Vegan Swap: Use your favorite plant-based butter to create a dairy-free version that’s just as dreamy.
- Smoky Depth: Stir in ¼ tsp smoked paprika for a subtle campfire note.
Nutrition
- Calories: 274
- Carbs: 34g
- Protein: 7g
- Fat: 12 g
Diet & Allergen Info
This spread contains dairy but can be easily made dairy-free by swapping in your favorite plant-based butter. It’s naturally gluten-free and nut-free, making it a great fit for most dietary needs.
Storage Suggestions
Store in the fridge for up to 2 weeks. Let soften at room temp for 10 minutes before serving. To re-crisp on bread, broil for 1–2 minutes until edges turn golden.
FAQ
Can I freeze this?
Absolutely—freeze in a silicone mold or ice-cube tray. Pop out cubes and thaw as needed.
What bread works best?
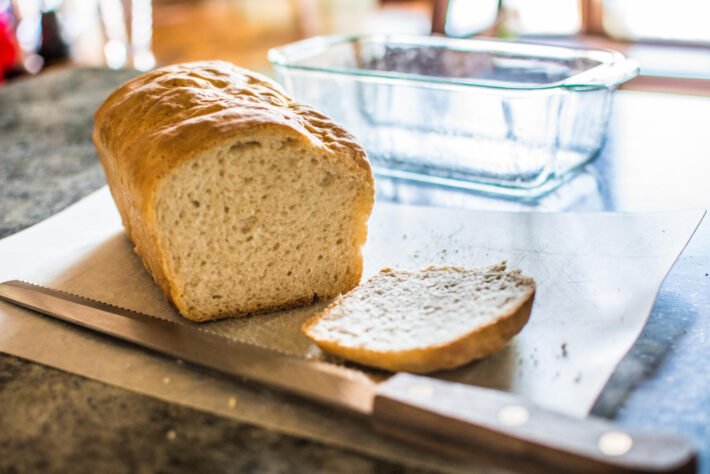
Crusty baguette or sourdough absorb the flavors beautifully, but any rustic loaf will do!
Patricia J. Harris is a passionate recipe creator with a love for crafting delicious, easy-to-follow dishes. Her expertise in diverse cuisines brings bold, accessible flavors to home cooks. She loves experimenting with ingredients, blending tradition with creativity to make cooking easy and fun.